Cart is empty.

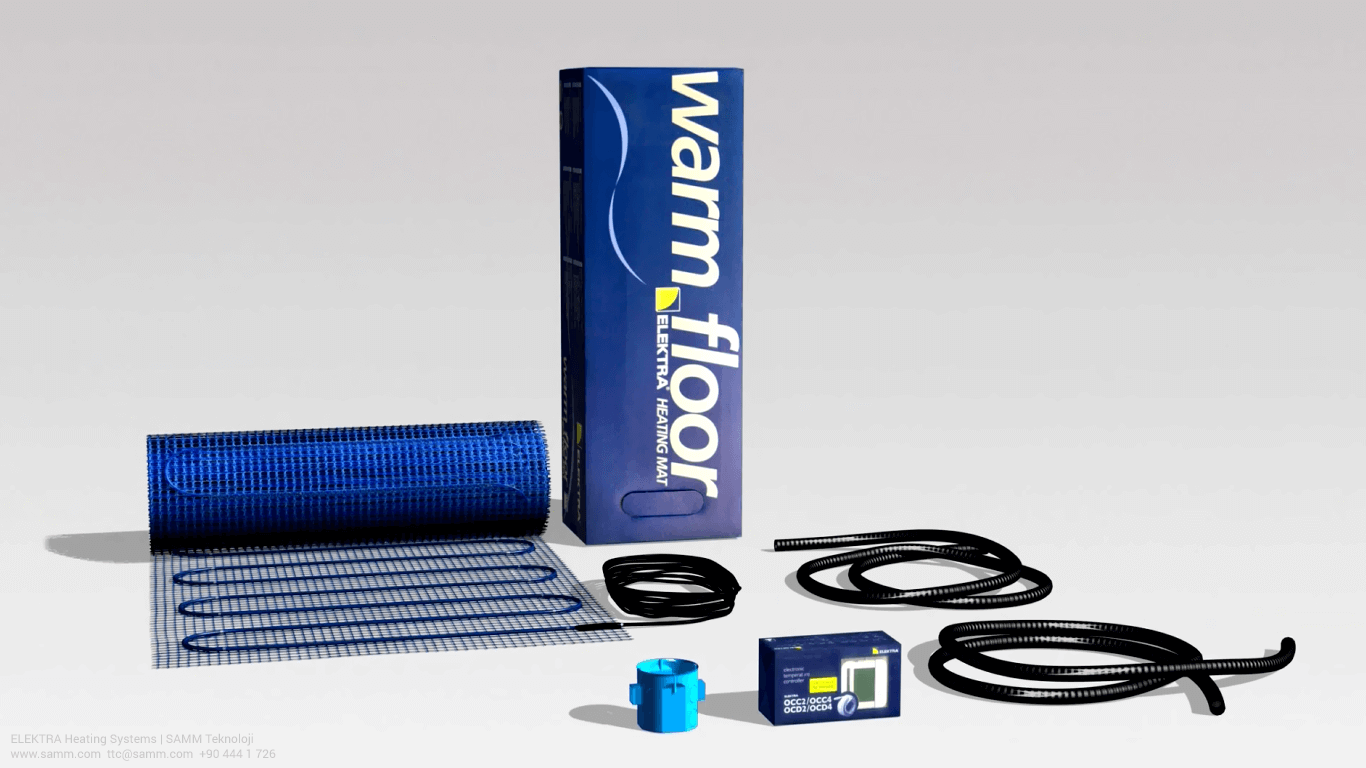
ELEKTRA Electric Underfloor Heating Mat Installation
Installing ELEKTRA under floor electric heating mat can be easily done. You can either watch the heating mat installation video, or you can read the instructions below.
- Installing an electric heating mat must be done by professional technicians.
Click Here To check out the ELEKTRA MD 160 Heating Mat page.
Electric Underfloor Heating Mat Installation Video
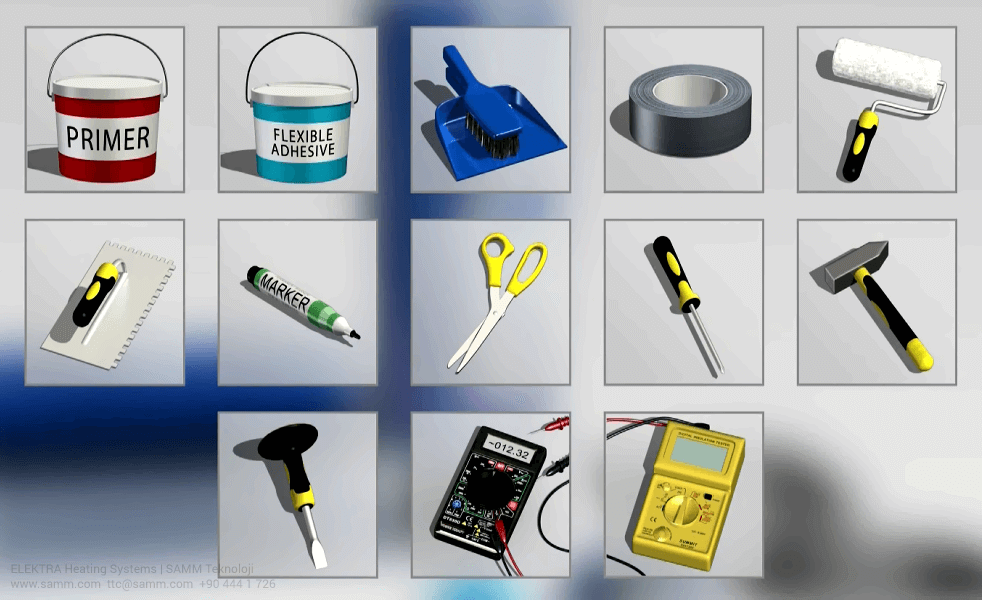
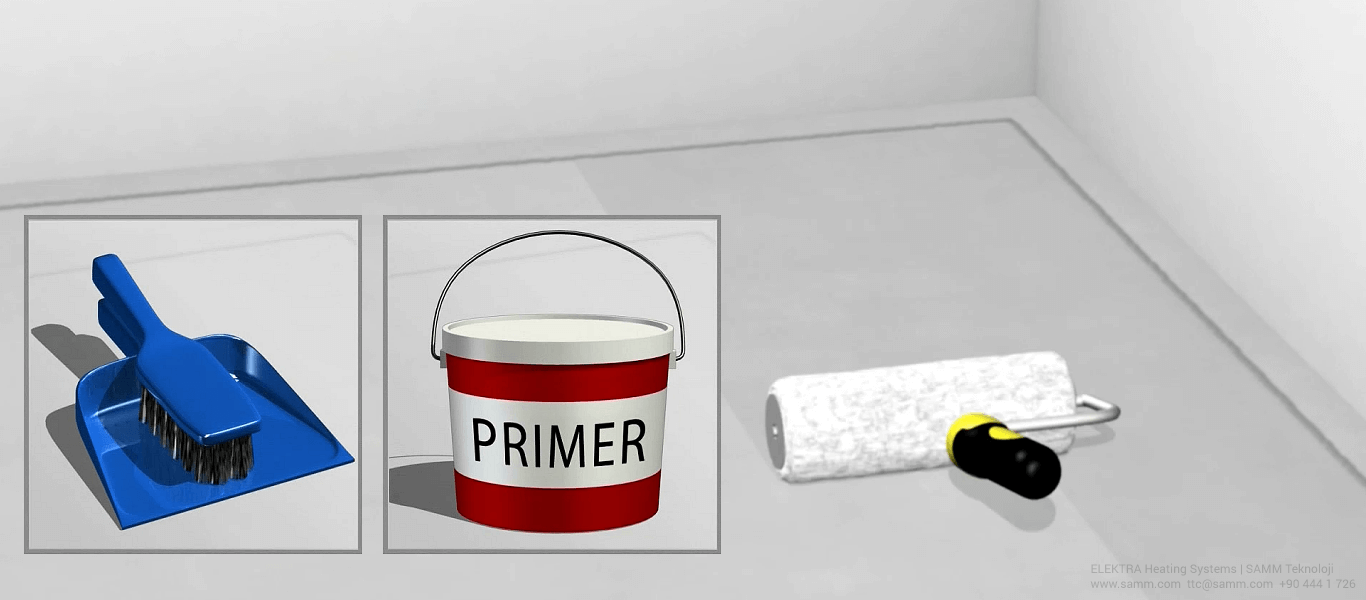
1 Underfloor Heating Mat Application Tools
- Paint Primer
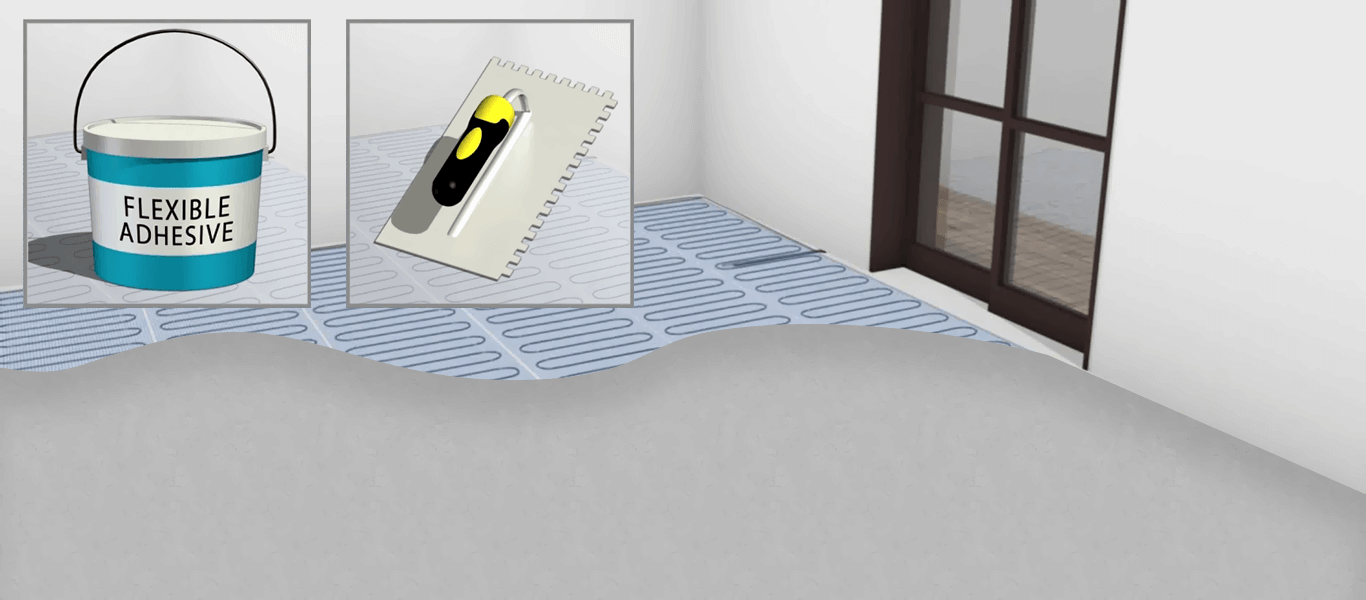
- Flexible Adhesive
- Broom and dustpan
- Aluminum tape
- Paint roller
- Notched trowel
- Marker
- Scissors
- Phillips screwdriver
- Hammer
- Chisel
- Avometer
- Megger meter
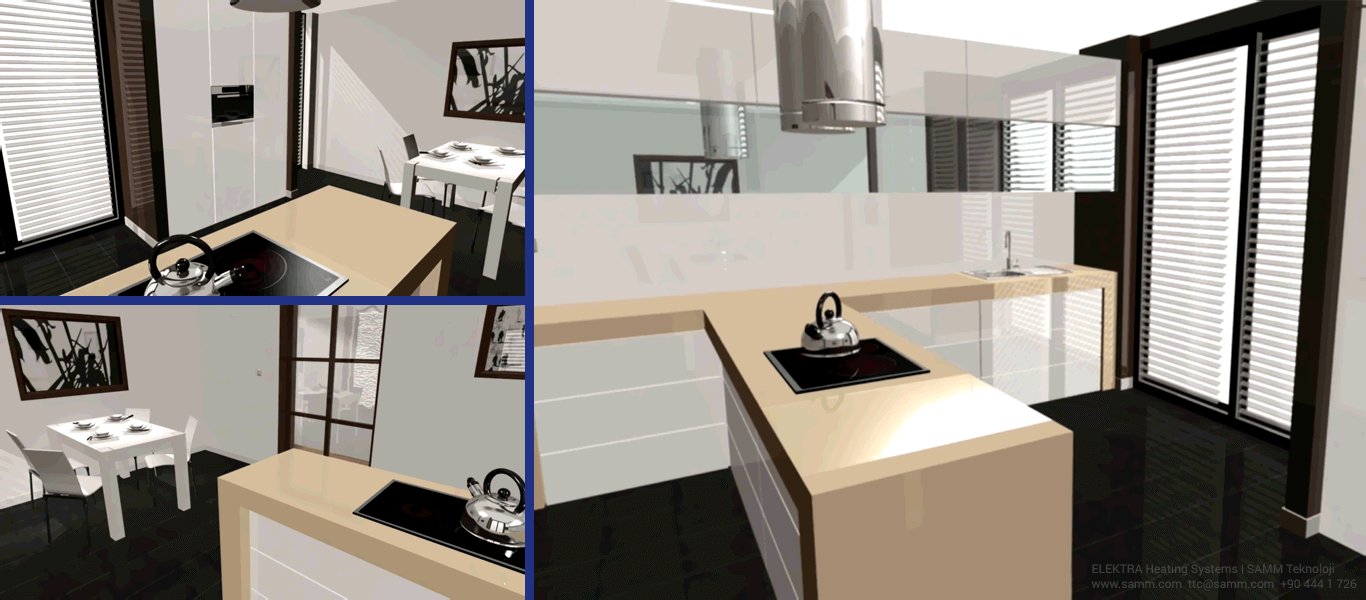
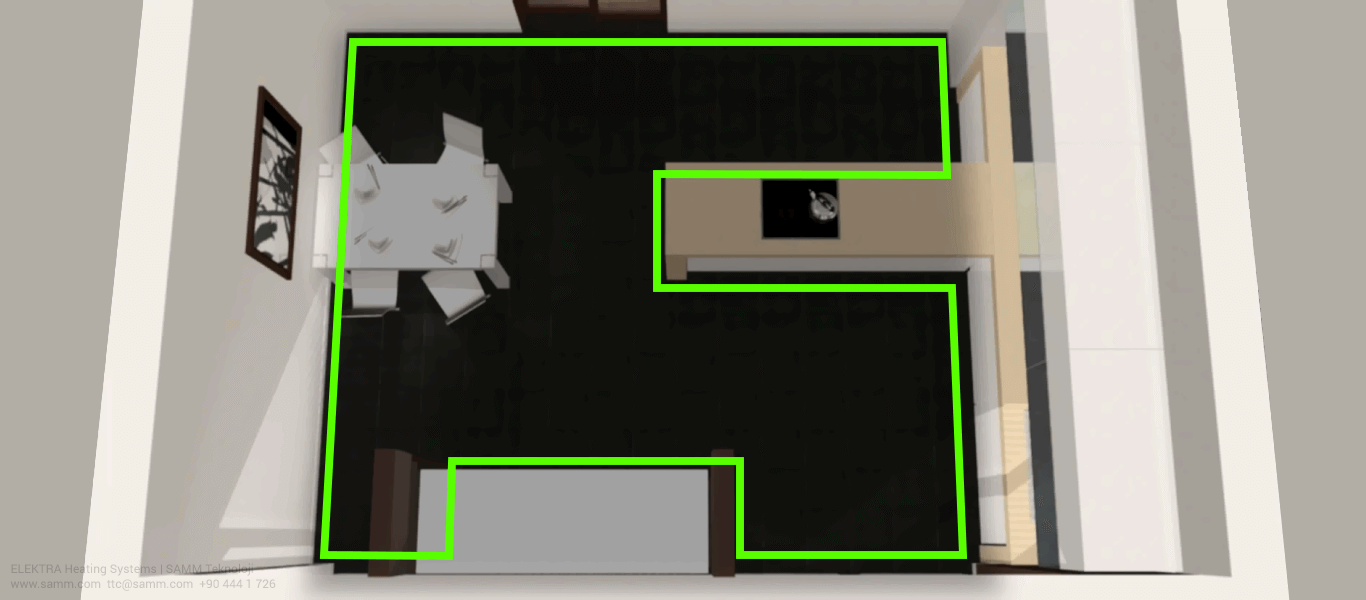
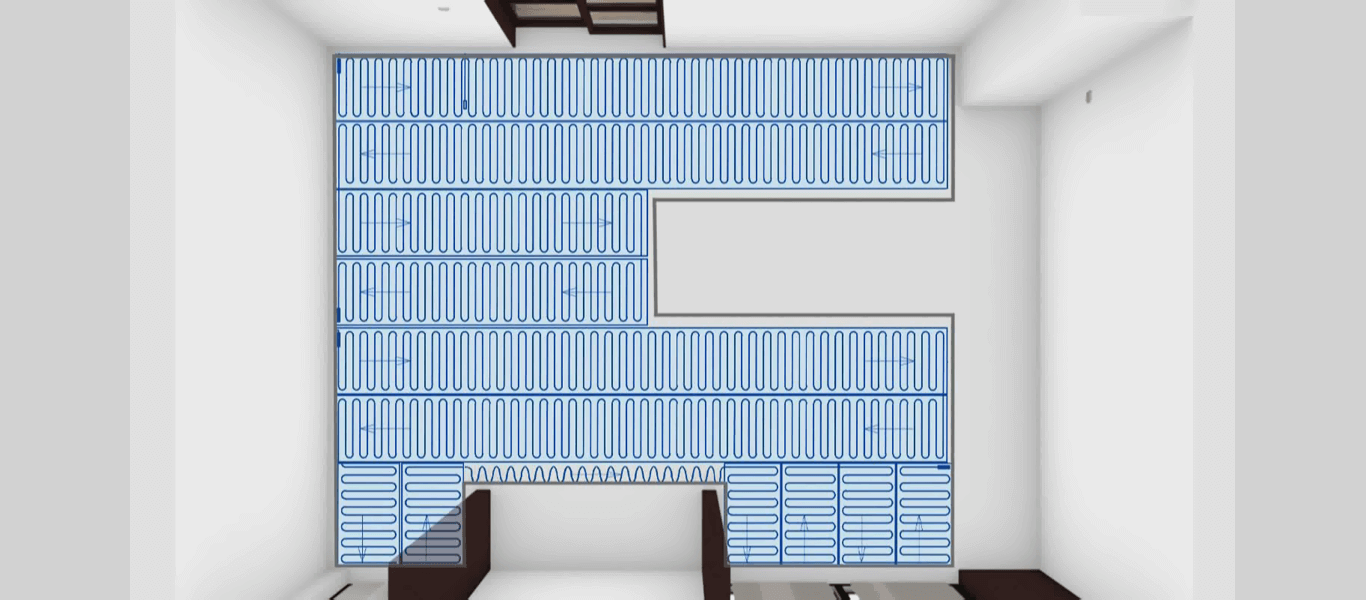
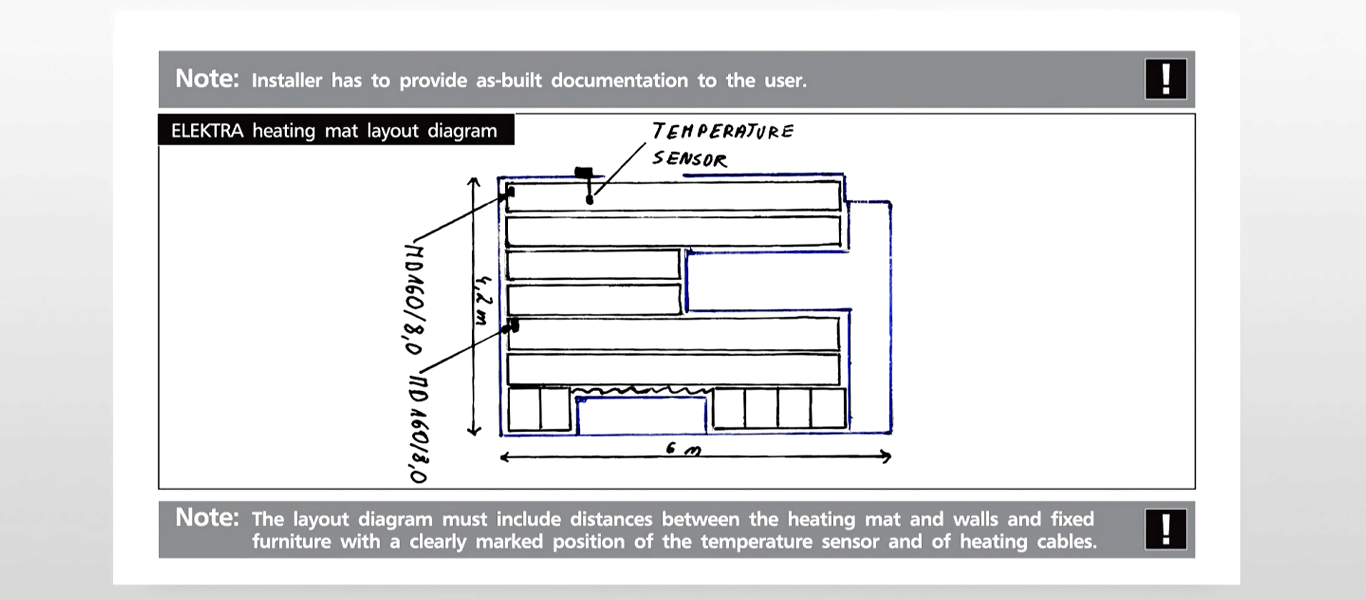
2 Planning the layout of the electric heating mat
- Estimate the free floor area, excluding fixed furnishing, and mark it with the marker.
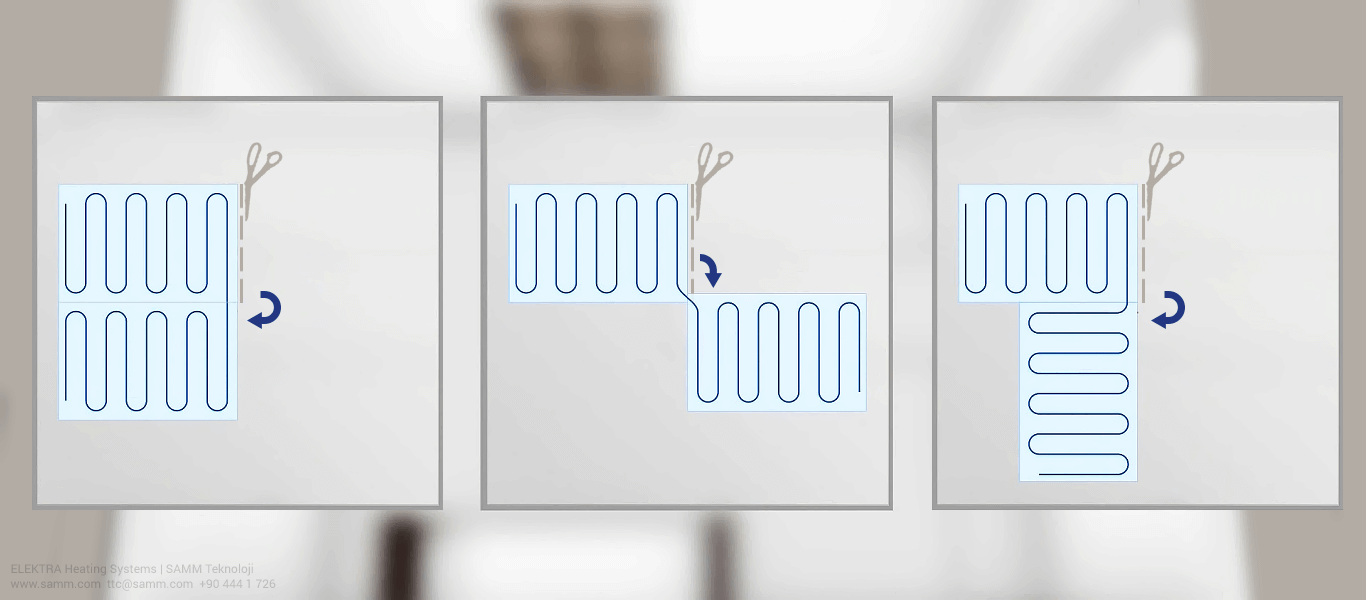
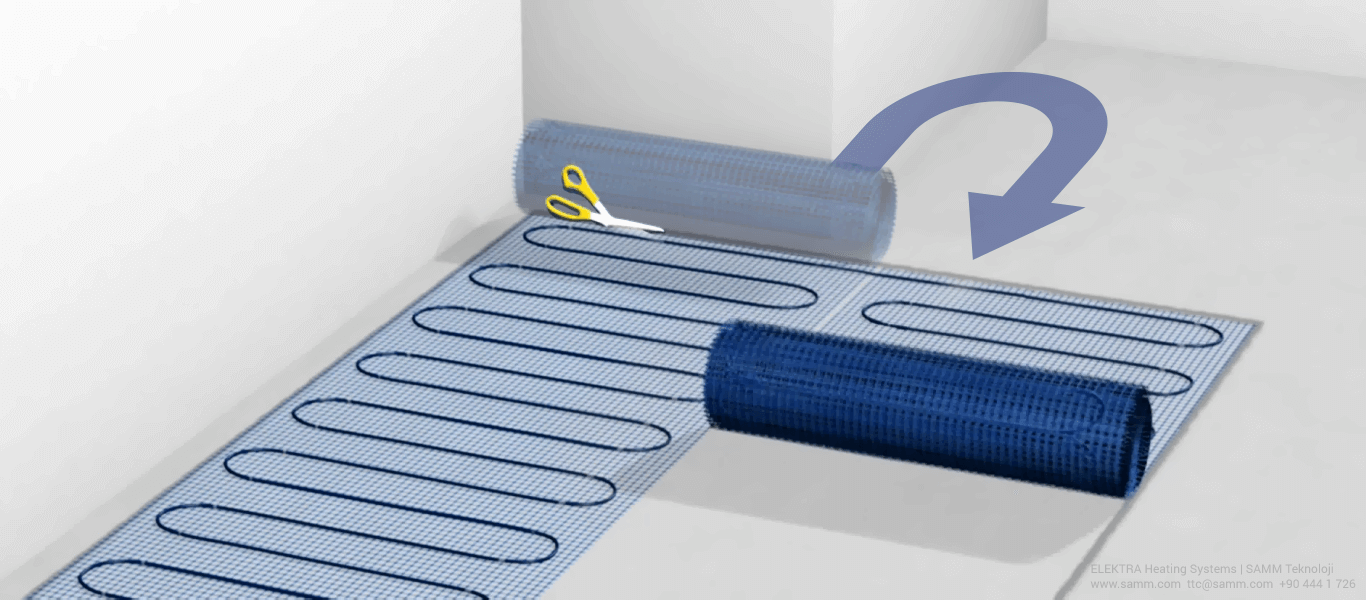
- According to the size of the room, you might need more than one heating mat.
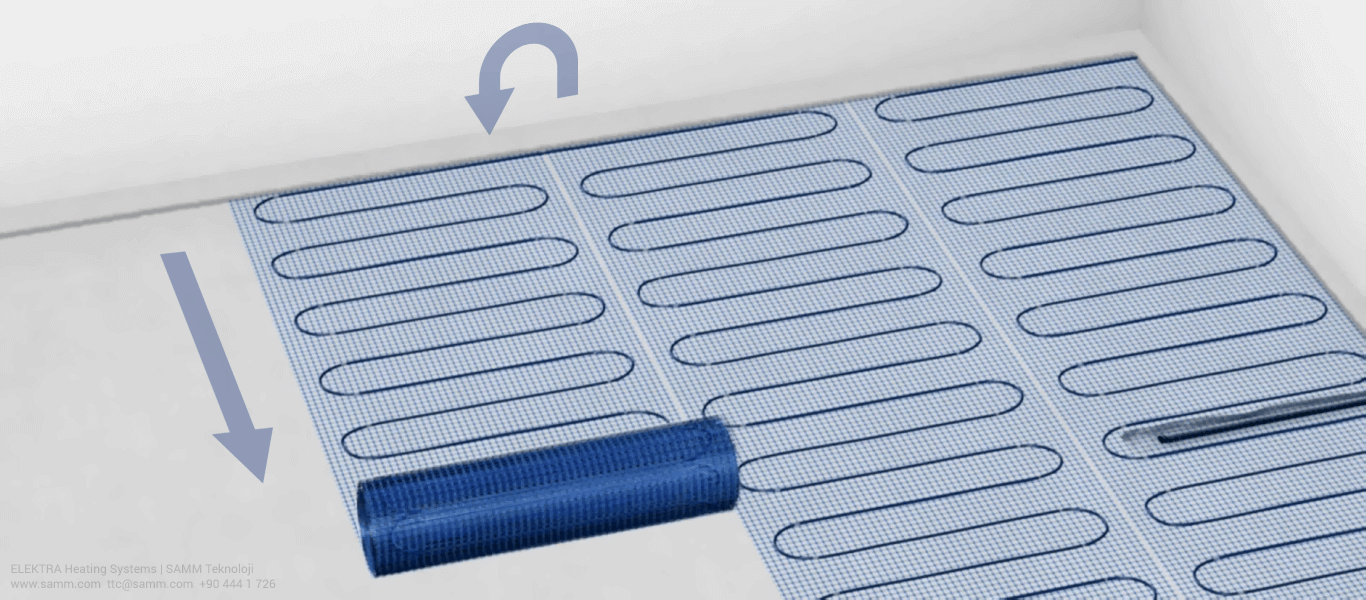
- Do not forget that the heating mats are flexible and can be shaped as needed.
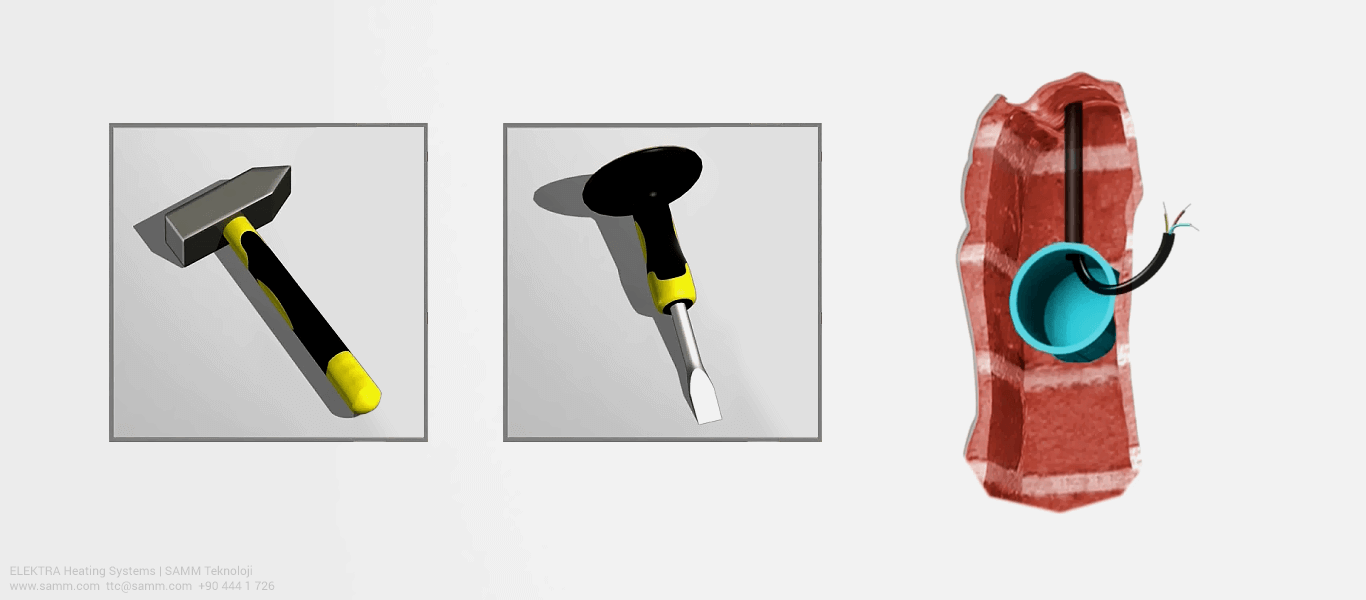
3 In-wall box and pipes for the Thermostat
- You can use an existing electric box in the wall to install the temperature controller or you can dig a special one and connect a power cable to it.
- Make an opening groove from the electric box to the ground and you can extend it within the subfloor for the temperature sensor conduit.
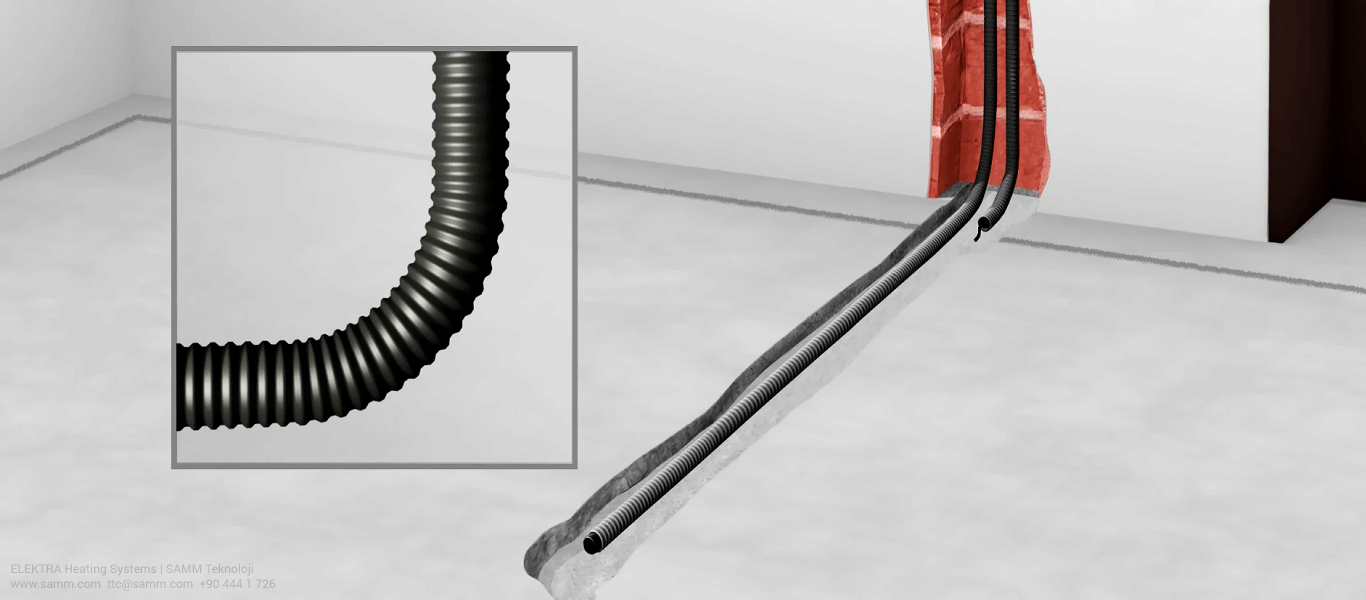
- Lead two protective plastic conduits inside the vertical groove, from the installation box to the subfloor. The power cable conduit should only reach the floor but the temperature sensor conduit should reach the middle of the nearest mat to the wall.
- When the plastic conduit reaches the sub floor, make sure it is bent in an arch shape and well supported. This makes any future changes easier.
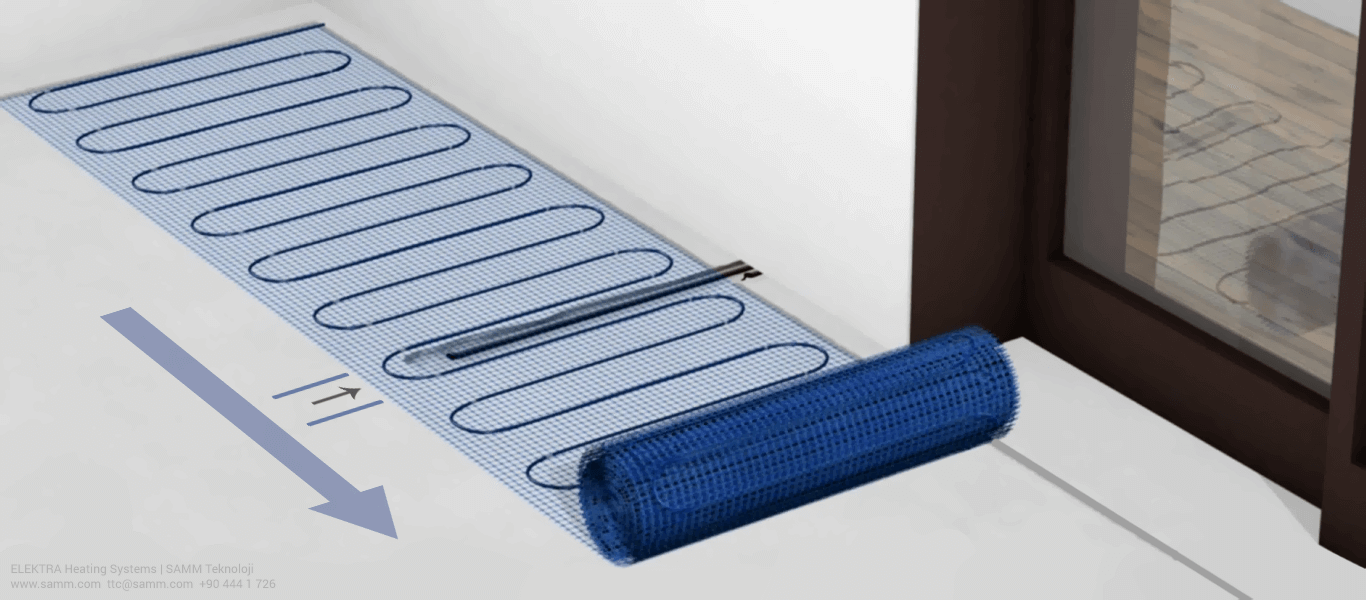
4 Heating Underfloor Mat Application
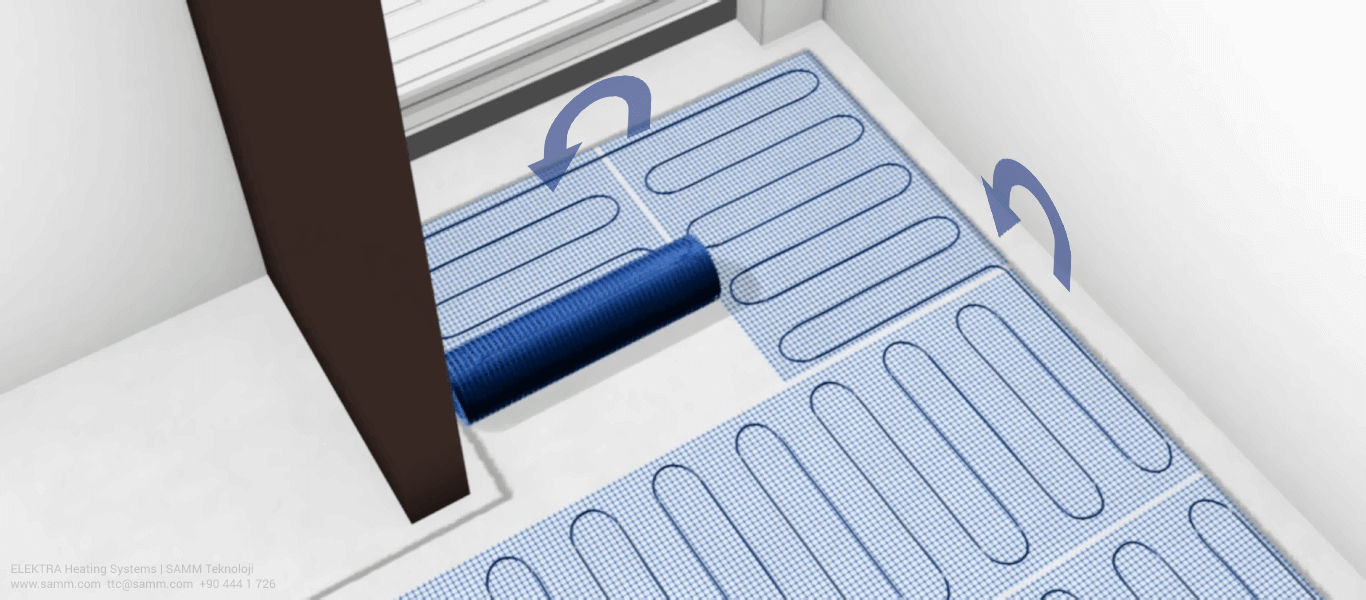
- Clean the sub floor and apply the primer on it, only within the marked area.
- Start placing the heating mat according to the previously designed layout.
- When placing the mat over the temperature sensor conduit, make sure the temperature sensor will be between two heating cables, in the middle exactly.
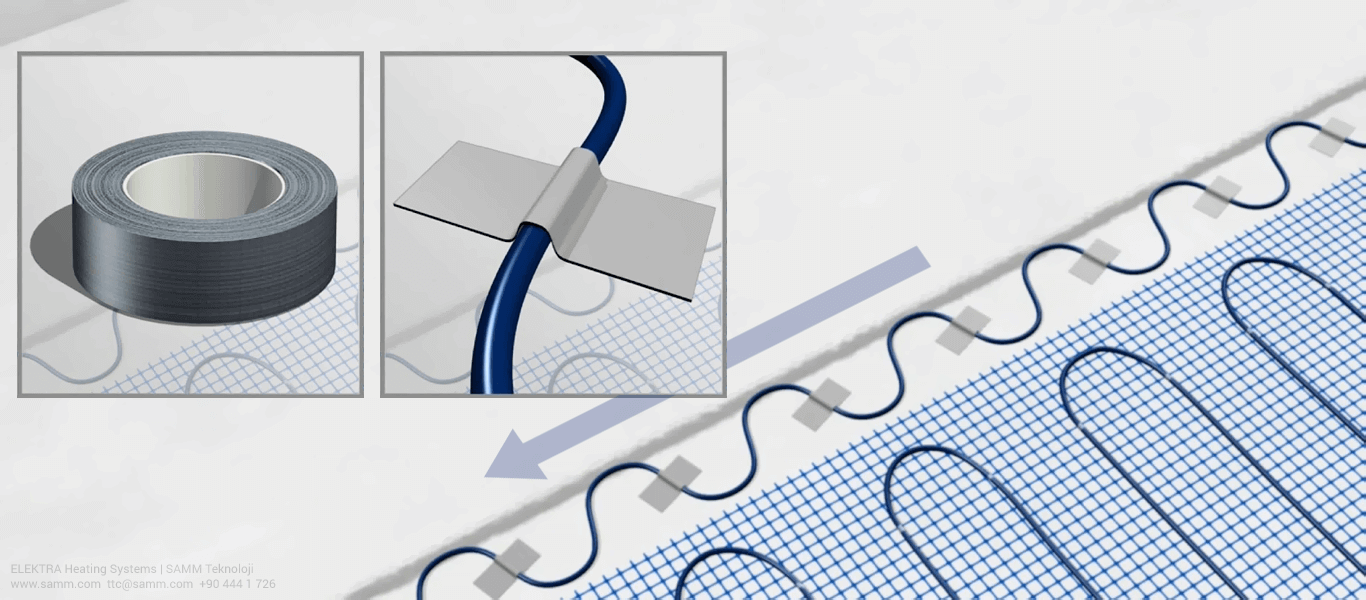
- In narrow areas, lay out the heating cable without the net in a wavy shape. Make sure the cable has similar curves to the ones in the mat and fix the cable on the subfloor with tape.
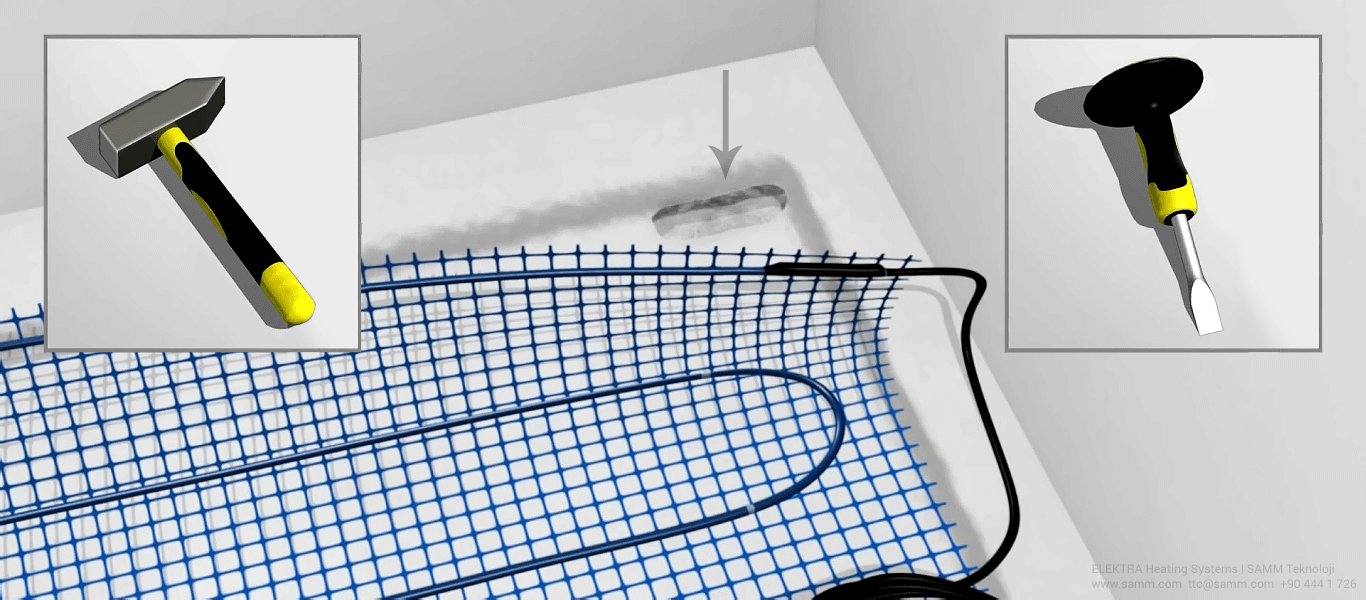
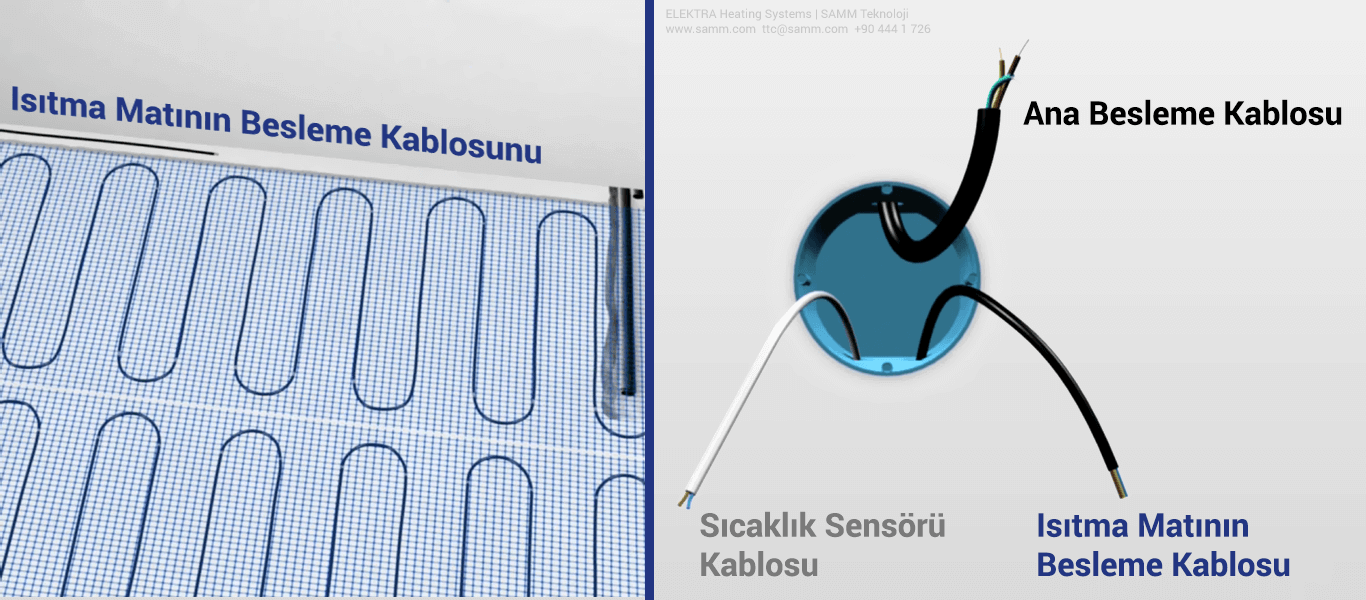
- After connecting the heating cable and the power supply cable, the connection point is usually thicker than the cables. You should carve a little space in the floor for it, to make it on the same level.
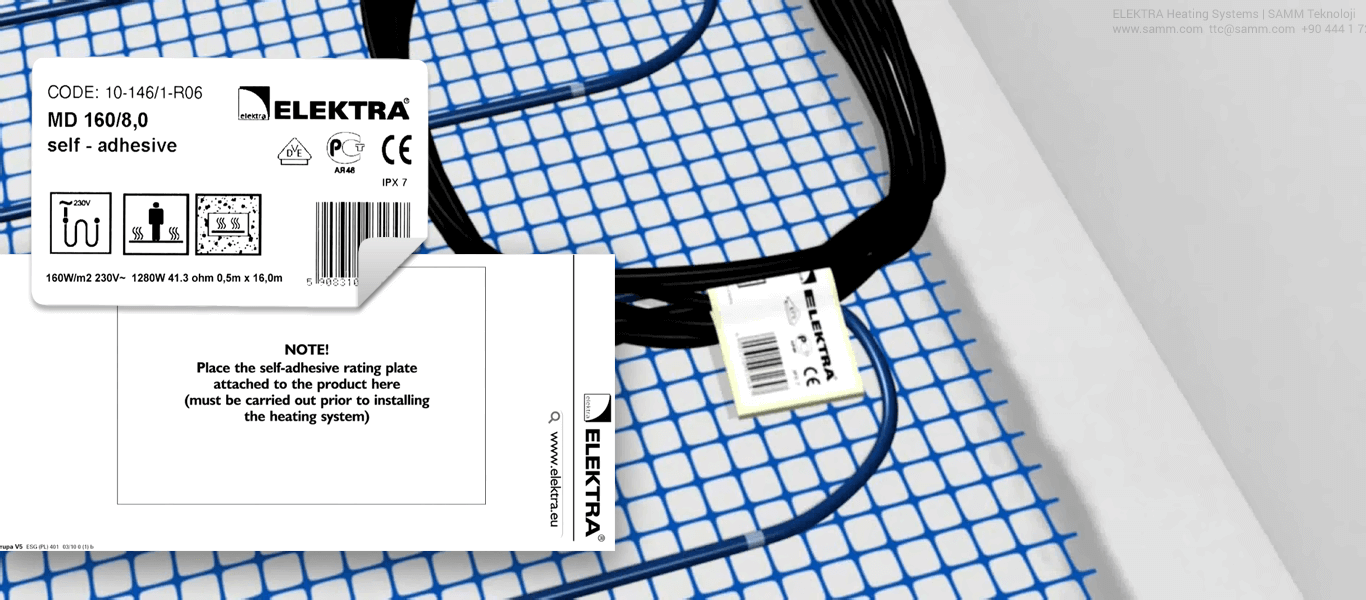
- Remove the stickers of the power supply cable in order to stick them on the Warranty card.
5 Finishing and testing the heating mat
- Use tape to stick the cold power cable around the floor
- Lead the power supply cable near the walls until it reaches the installation box.
- Insert the temperature sensor cable into the other plastic conduit in the installation box.
- After fixing the heating mat on the floor, sketch the layout in the Warranty Card.
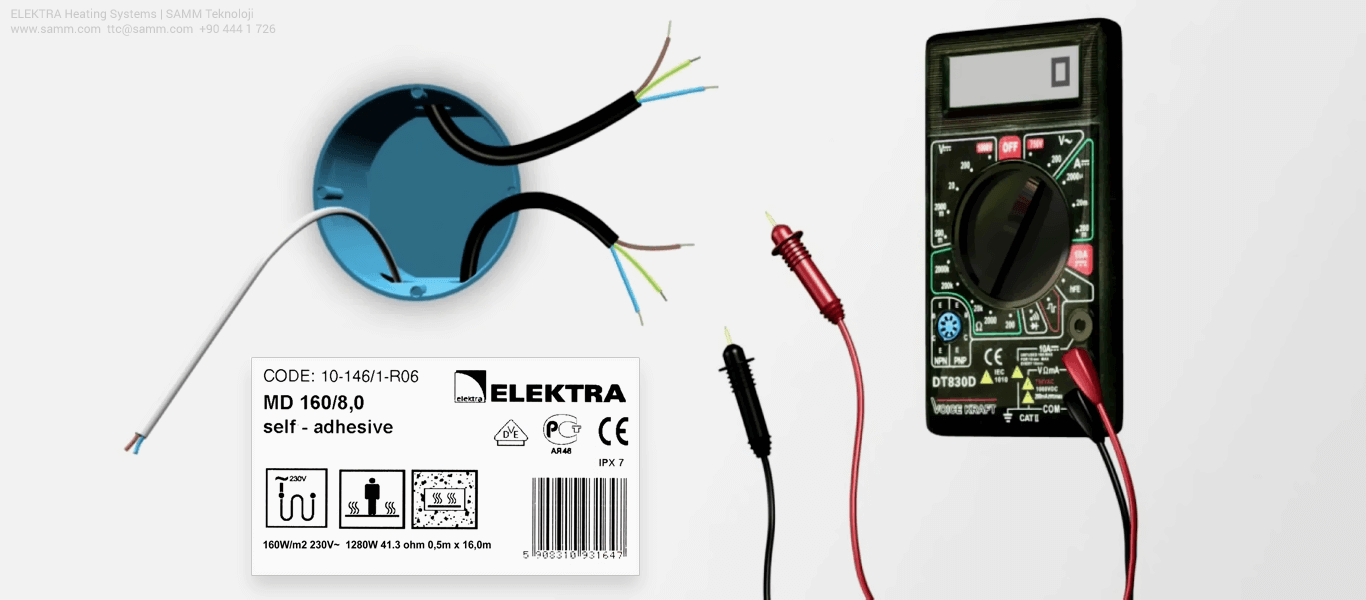
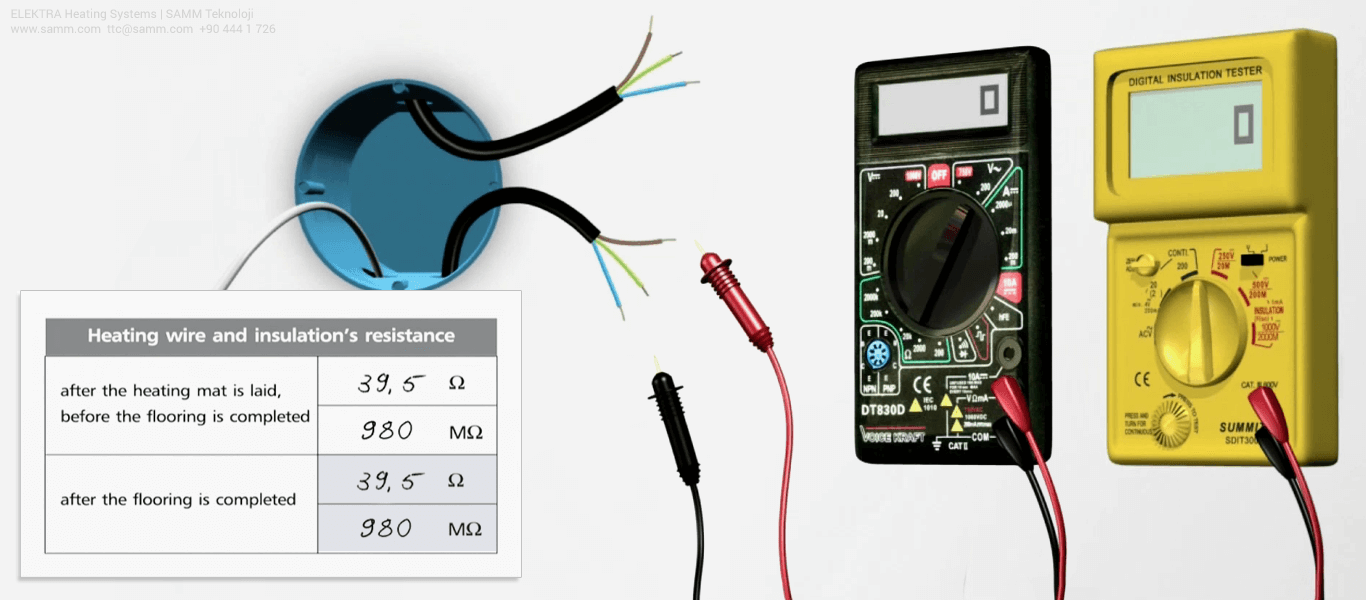
- Perform a resistance measurement on the heating core through the installation box, (using the brown and blue wires).
- Check the resistance value on the mat label, and make sure the heating core’s value is between -5% and +10% accurate.
- Measure the resistance of the power supply cable insulation with a 1000 V megohmmeter, (using the brown and yellow wires). The value should not drop below 50MΩ.
- Write down the measured resistance values on the Warranty Card.

- Cover the heating mat with a layer of flexible adhesive or self-leveling compound.
- After the floor is completed, repeat the two measurements and write down the new values on the Warranty Card.
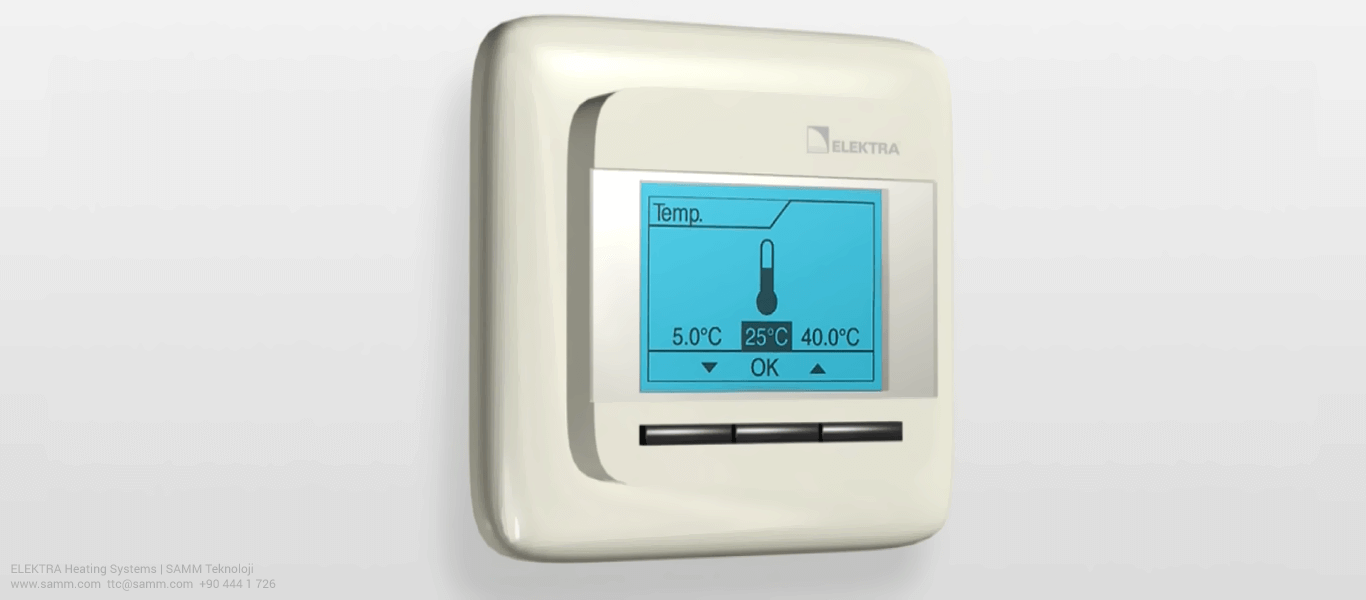
6 ELEKTRA OCD4 Thermostat (Temperature Controller) installation.
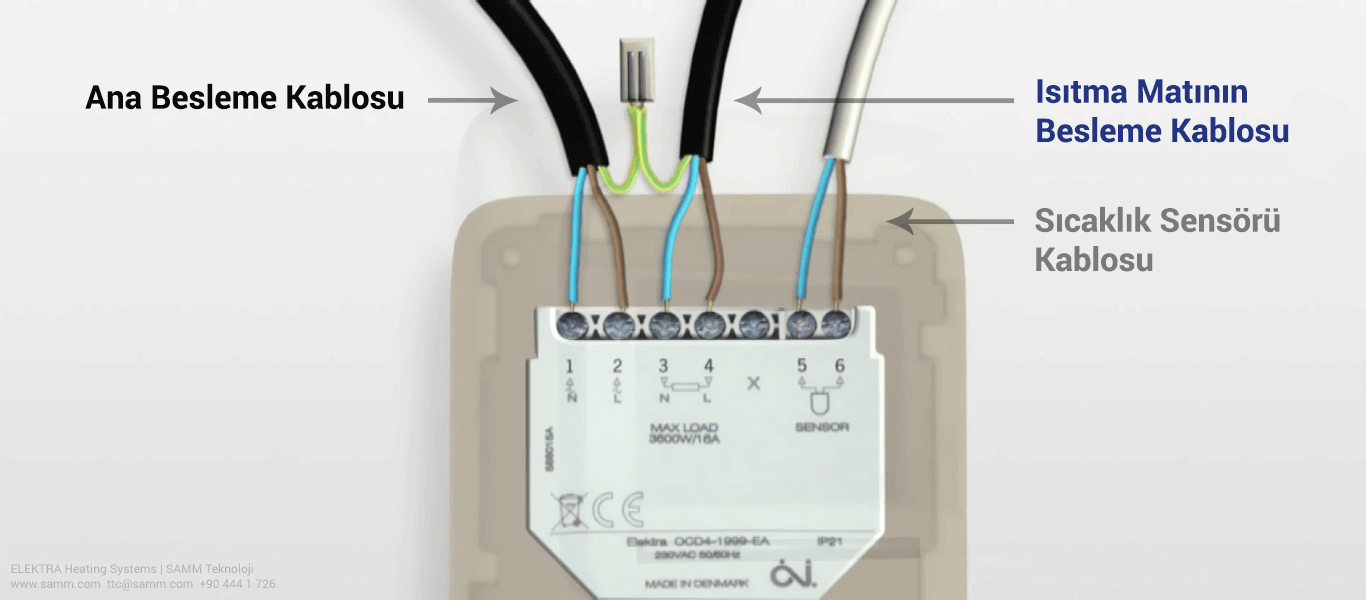
- Please Note: connecting the power and sensor cables to the temperature controller must be done according the installation instruction and by an authorized electrician only.
- Connect the power supply cable of the heating mat to the temperature controller terminals 3 and 4, (blue wire on terminal 3 and brown wire on terminal 4). If you are using more than one heating mat, you can connect them in parallel.
- Connect the temperature sensor cable to the temperature controller terminals 5 and 6, (blue wire on terminal 5 and brown wire on terminal 6).
- Please Note: You must disconnect the main power supply, before connecting the domestic power cable to the temperature controller.
- Connect the domestic power supply cable to the temperature controller terminals 1 and 2, (blue wire on terminal 1 and brown wire on terminal 2). The protective conductor (PE) of the heating mat should be connected to the domestic protective conductor (The two yellow wires in the picture).

7 Last Step of Underfloor Heating Mat Installation
- Please wait until the flexible adhesive on the floor is completely dry before you switch on the heating system.


Post comment